Table of Contents
In-Person Signing allows a signer that is physically present for signature or someone who may not have an e-mail address to electronically sign a document. An Administrator with an Foxit eSign account will need to facilitate the in-person signing and assist the signer. This will allow you to create legally binding, electronically signed documents without having to hassle with using an e-mail address if it not required or available to use. Listed below are the steps explaining how to create a document with the in-person signing feature enabled as well as a video.
Video
You can watch the video of In-Person Electronic Signatures using Foxit eSign or skip to the steps below.
Create a new Document with In-Person Signing
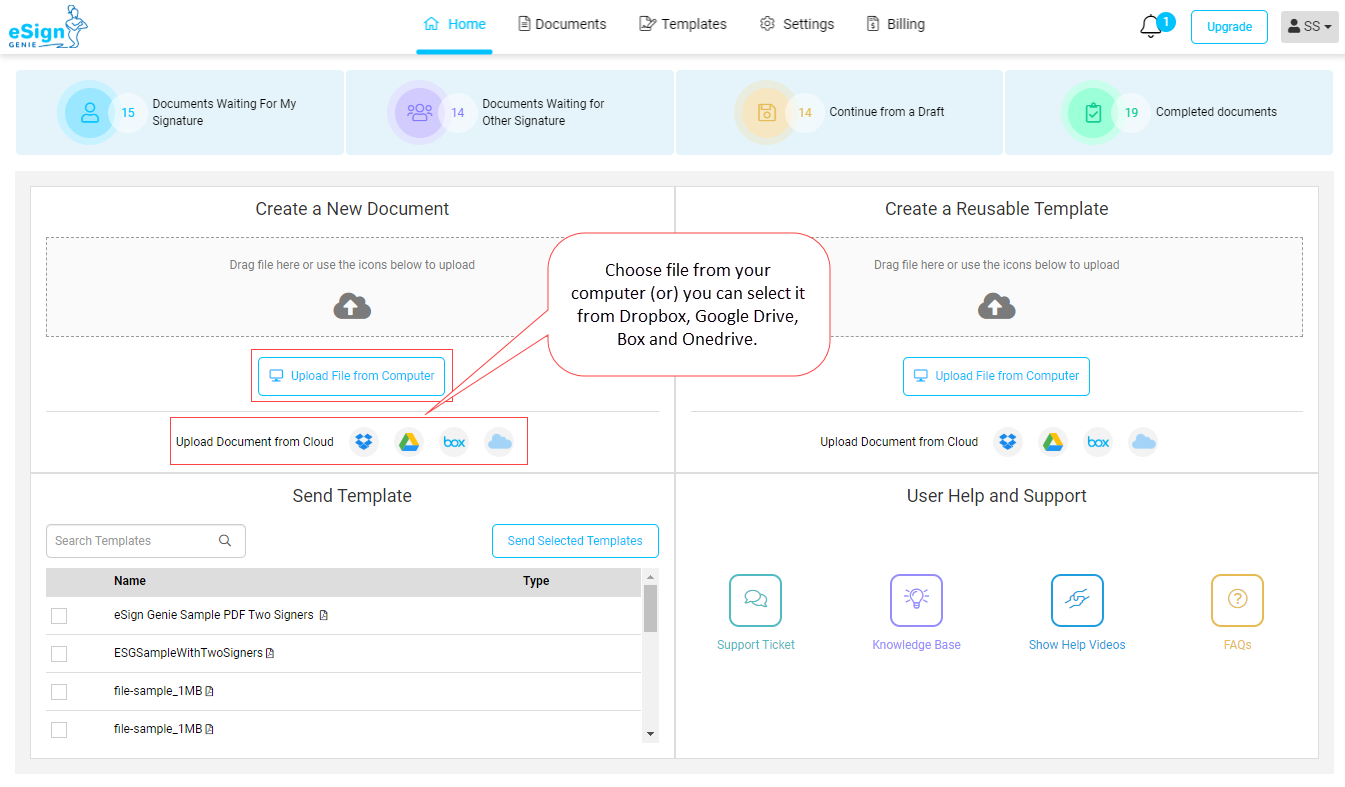
1. After logging into the application, upload the file from your computer when you click on ‘Upload a File’ under the ‘Create New’ section and select the PDF file.
2. Drag and Drop your desired fields wherever you need them from the toolbox in the document. Assign the property to the fields in the document, like the recipient responsible for filling in the value.

3. If you are sending the document to a new signer (email address not in your address book), click on ‘Add New’ button to add the name and email first. You can select ‘Select this party as in person signer’ to enable the in-person signing. You will also need to assign the in-person signing administrator. For in-person signer email address is not required.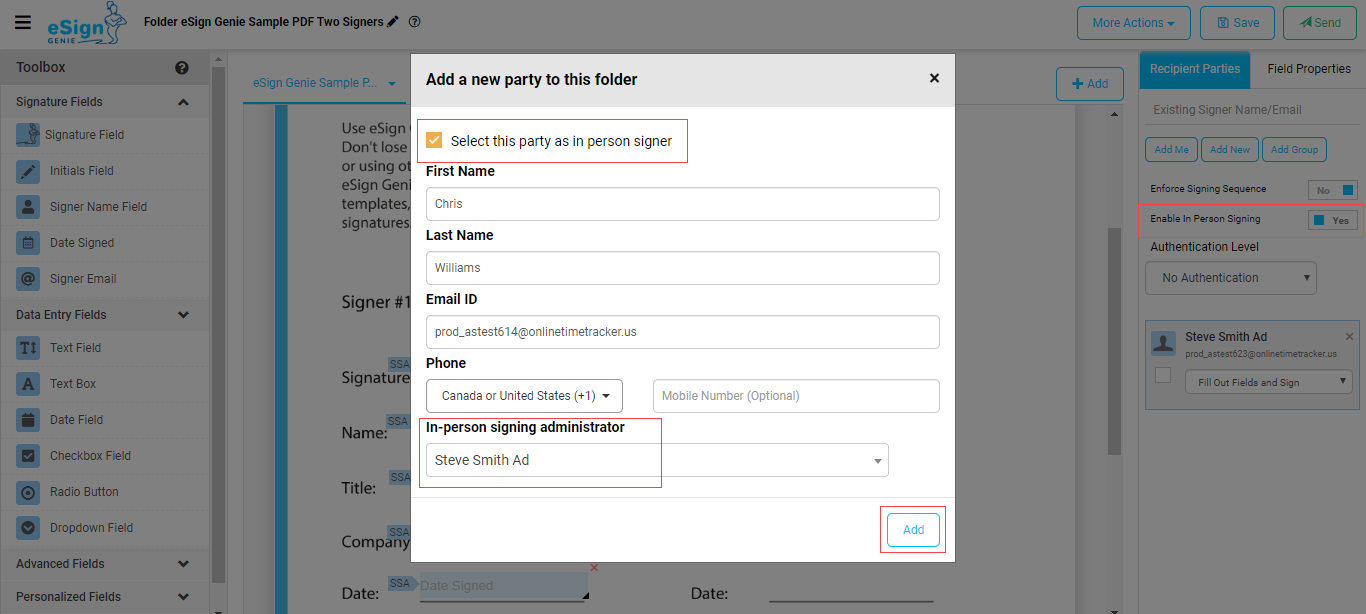
4. Select any of the account users to act as a signing administrator for the in-person parties and click on the send button.
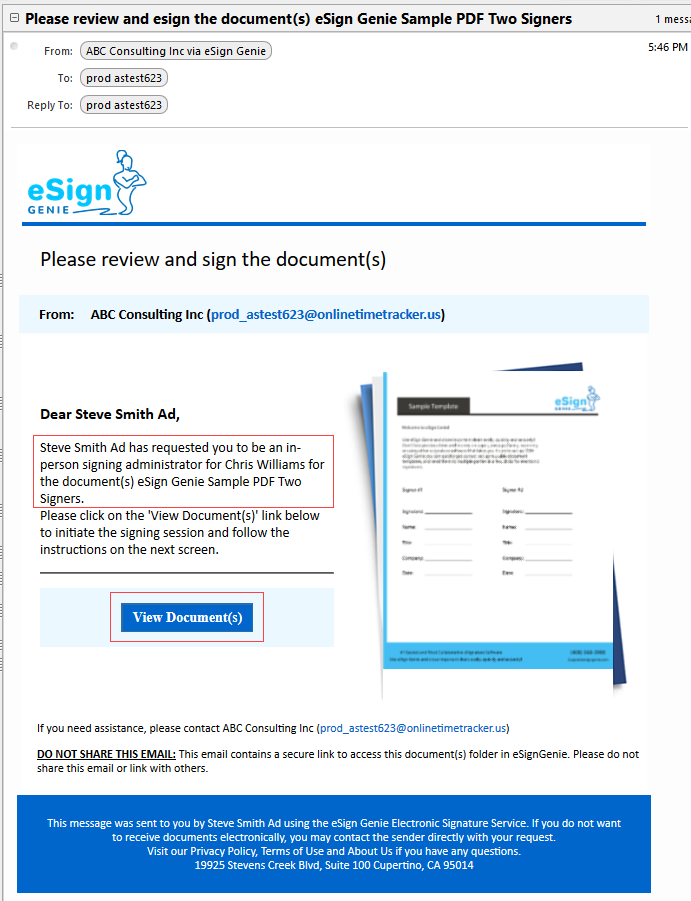
5. An auto-generated email is send to the account user who will act as the in-person signing administrator.
6. Once the in-person signing administrator clicks on the “View Document”, he will be redirected to the In Person Signing Administration Session where the user will have two options: 1) give control to the in-person signer and 2) continue as an in-person administrator.

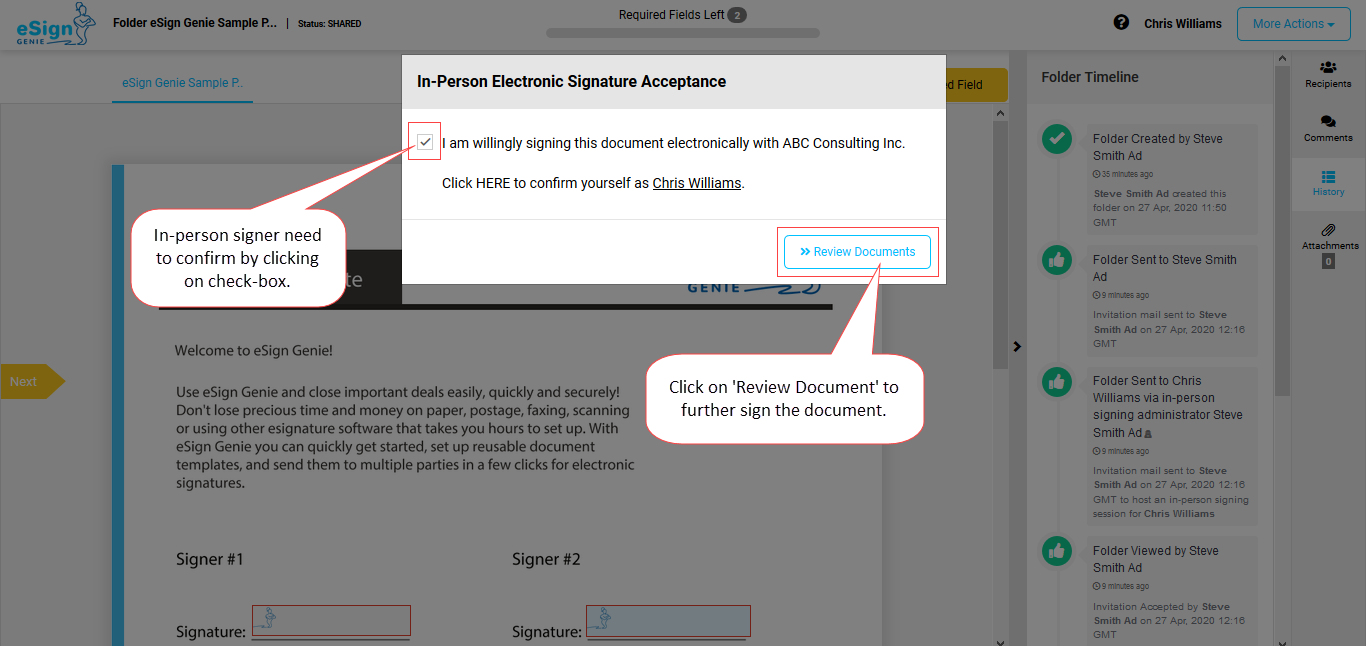
7. Once the in-person signing administrator passes the control to the in-person signer, it will show the In-Person Electronic Signature Acceptance box to confirm to sign the document.

8. In-person signer needs to click on the check-box to confirm signing the document and click on the Review document.
9. After going through the document, the in-person signer will sign the document and will get the confirm signature box either to review the document or to submit the signature.

10. Once the in-person signer confirms the signature, it will ask them to pass the control to the in-person signing administrator or they can continue to view the document.

11. Once the in-person signer passes the control to the in-person signing administrator, he needs to enter the password for completing the signing process and click on confirm.
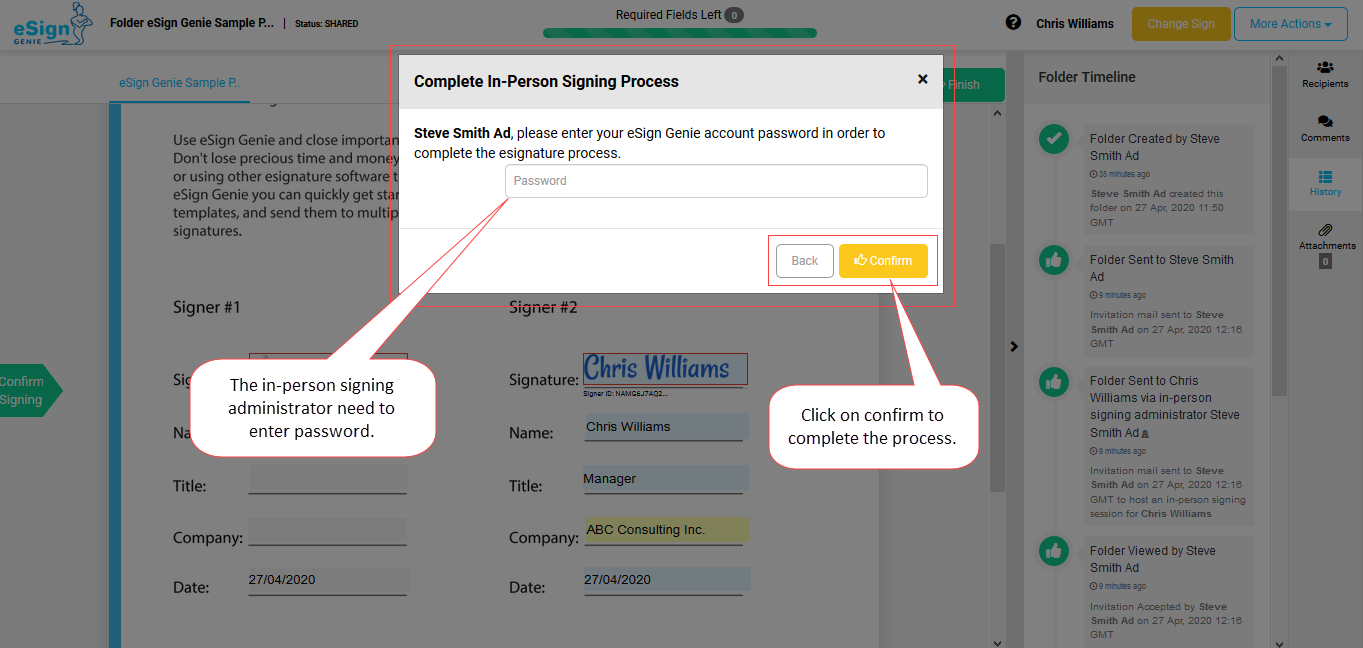
12. In-person administrator will get the control and will receive a “Signature Successful” message.

13. The in-person signer will get an auto-generated email and be able to view/download the signed document they need to click on “View Documents”.

Recommendation: Read how to send PDF Template for in-person signing.


