What Foxit eSign and WordPress Integration Do?
E-signature WordPress integration with Foxit eSign allows companies to auto-generate contracts or other documents from WordPress website WPForms using the Foxit eSign template. That means your customers or vendors who need to sign a purchase agreement or NDA etc. can do so without leaving the WordPress website.
It just takes 15 minutes to configure and get started with the Foxit eSign WordPress plugin. To get started, you need an Foxit eSign account and at least one template that needs to be mapped to your word press website. You can set the field mapping between the WPForm and Foxit eSign template. Field values from WPForm will be populated into the Foxit eSign template while generating the contract. Contact can be sent via email to your client directly or after preview, or the person filling the form can esign online directly.
1. Installation
If you already have a WordPress website, please go to step 3 directly.
- From your WP environment, open the following URL in a browser:
https://wordpress.org/download/ - Download WordPress and signup.
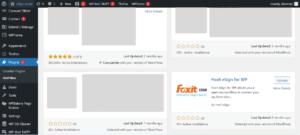
- After login, please click on plugins, from the right-side menu and search Foxit eSign plugin.
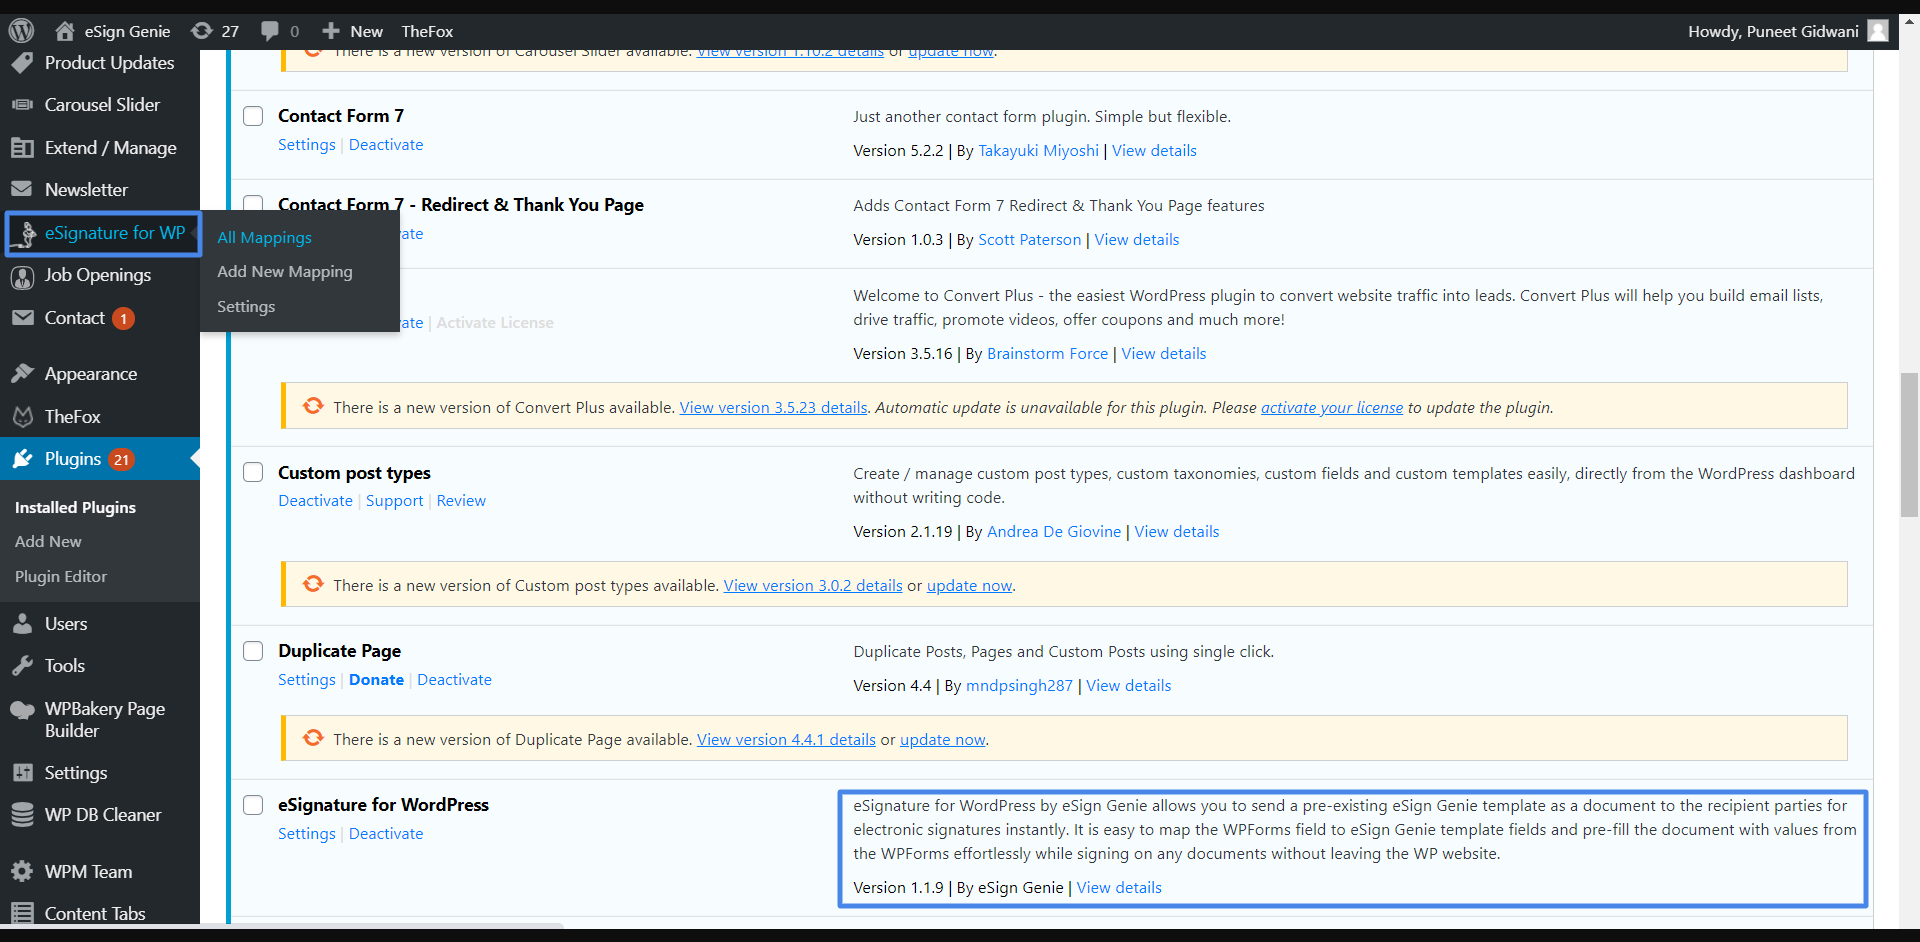
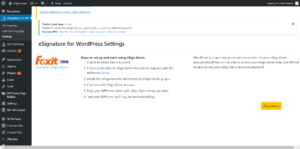
- Once the Plugin is installed, it will appear in the left menu and plugin list.
- Connect WordPress plugin with the Foxit eSign.
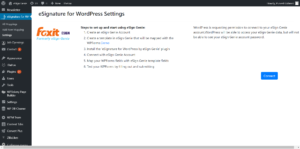
- To establish the connection with Foxit eSign click on connect button, the connect button will redirect you to the Foxit eSign login page, Please login and authenticate the user account.
- Allow permission for WordPress to access your Foxit eSign account templates.
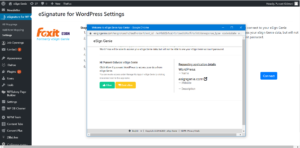
- Plugin installed and connected successfully.
2. Add WP Form- Drag and drop form builder
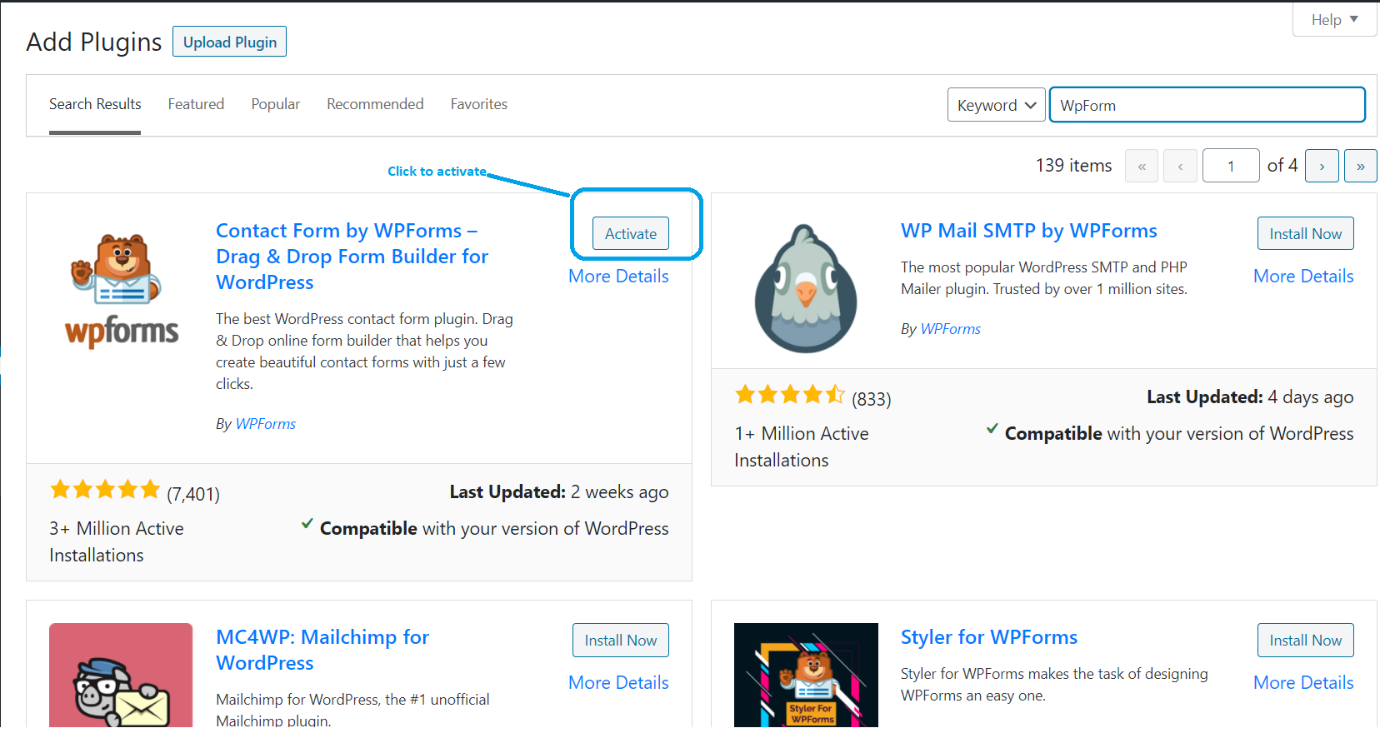
- From the left menu, under settings, click on WPForms. Then click on the below shown ‘Activate’ button.
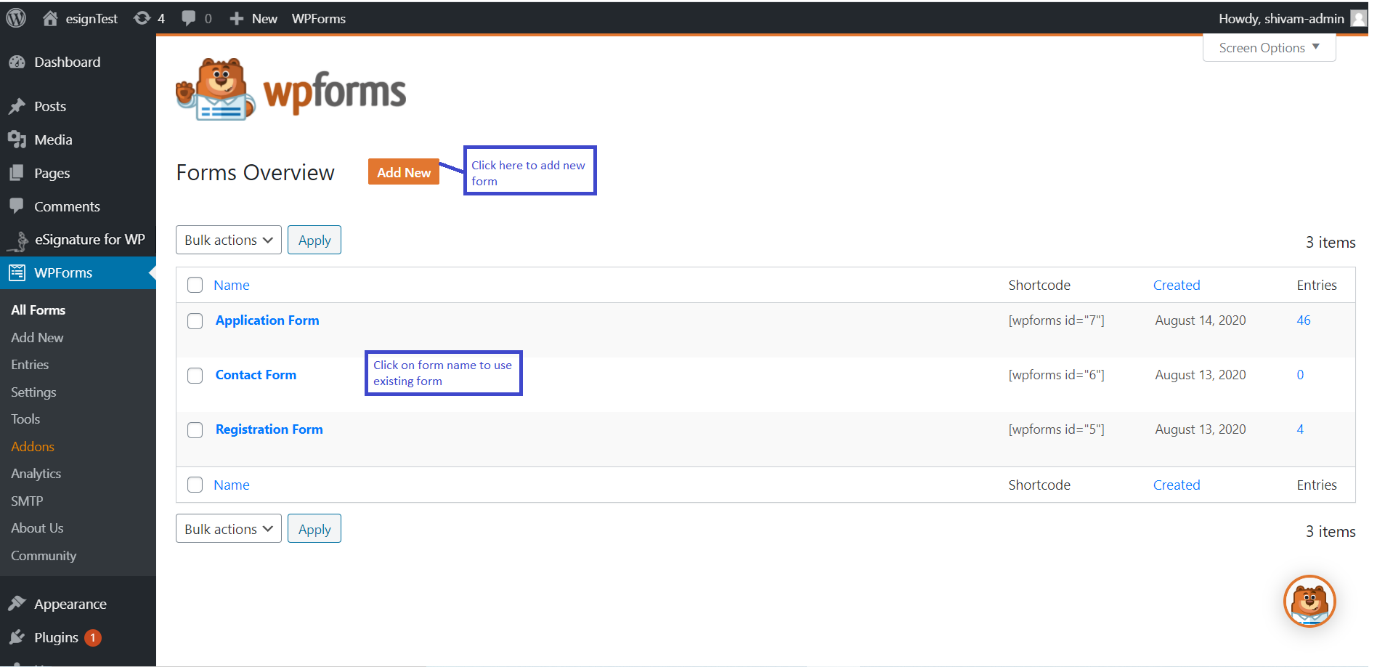
- After activation, the below screen will appear from where the user can create a new form and can use the existing one also.
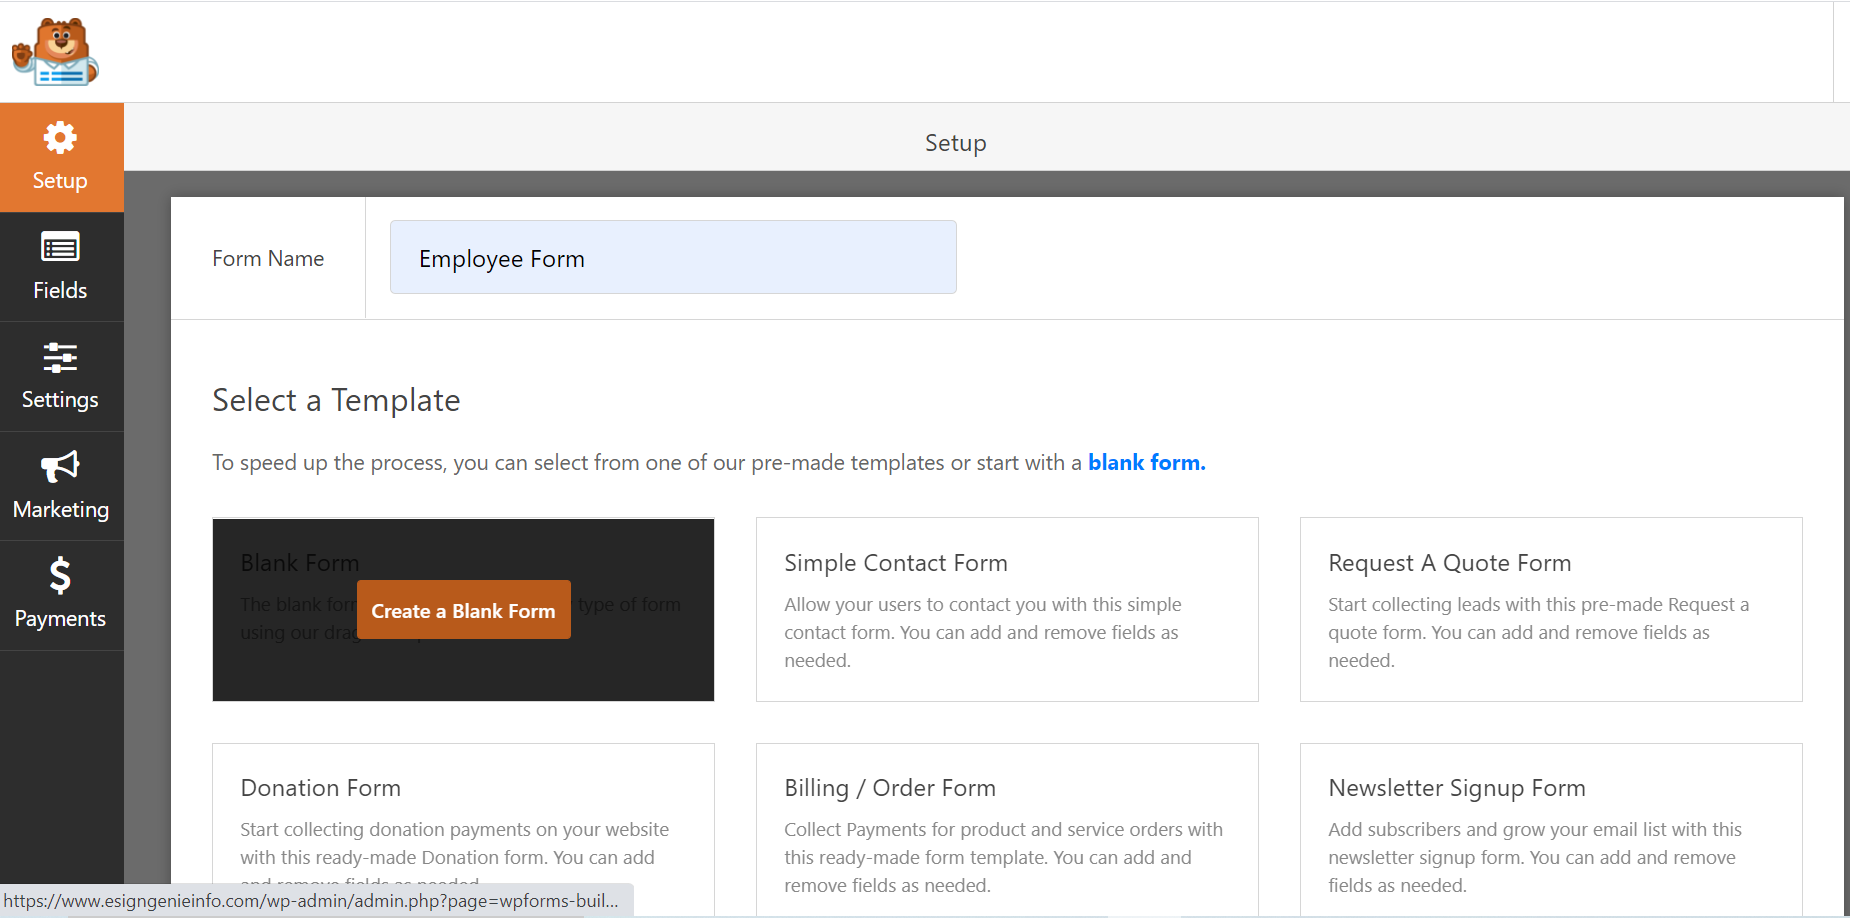
- To create a new form, provide form name in the below screen.
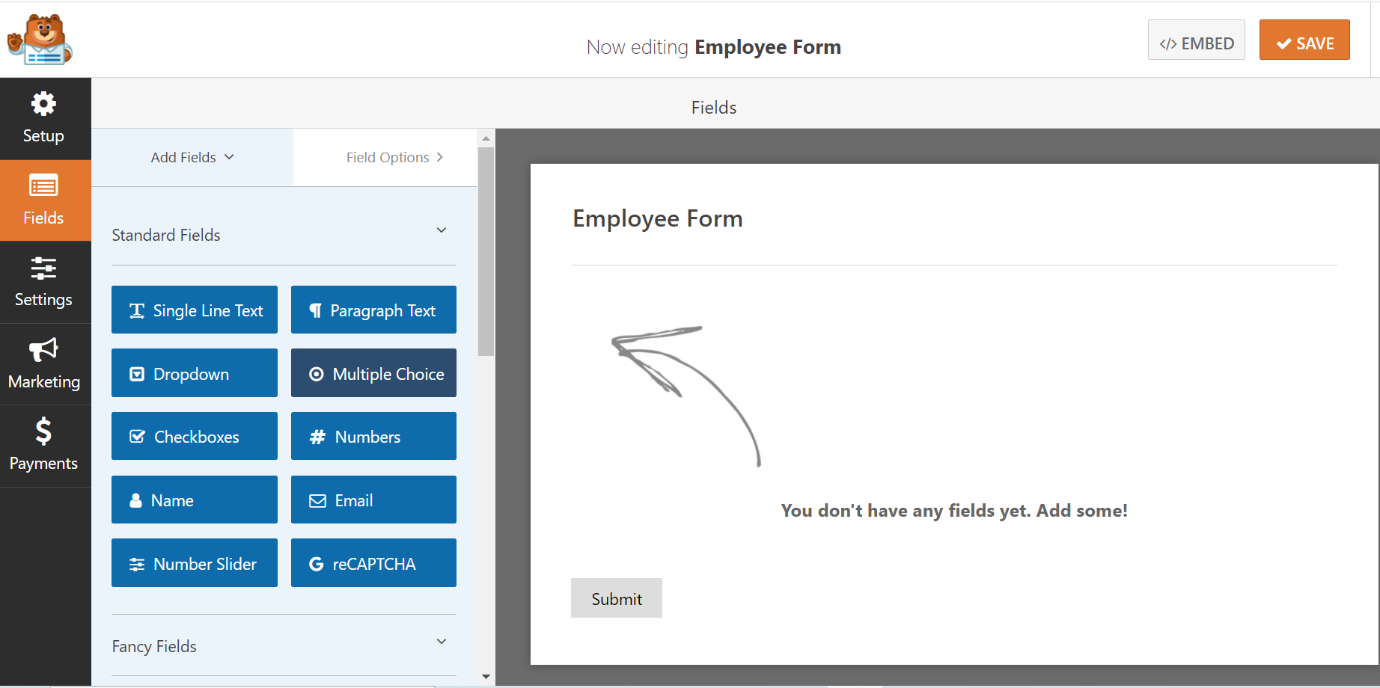
- From ‘Add Fields’ tab drag and drop your required fields.
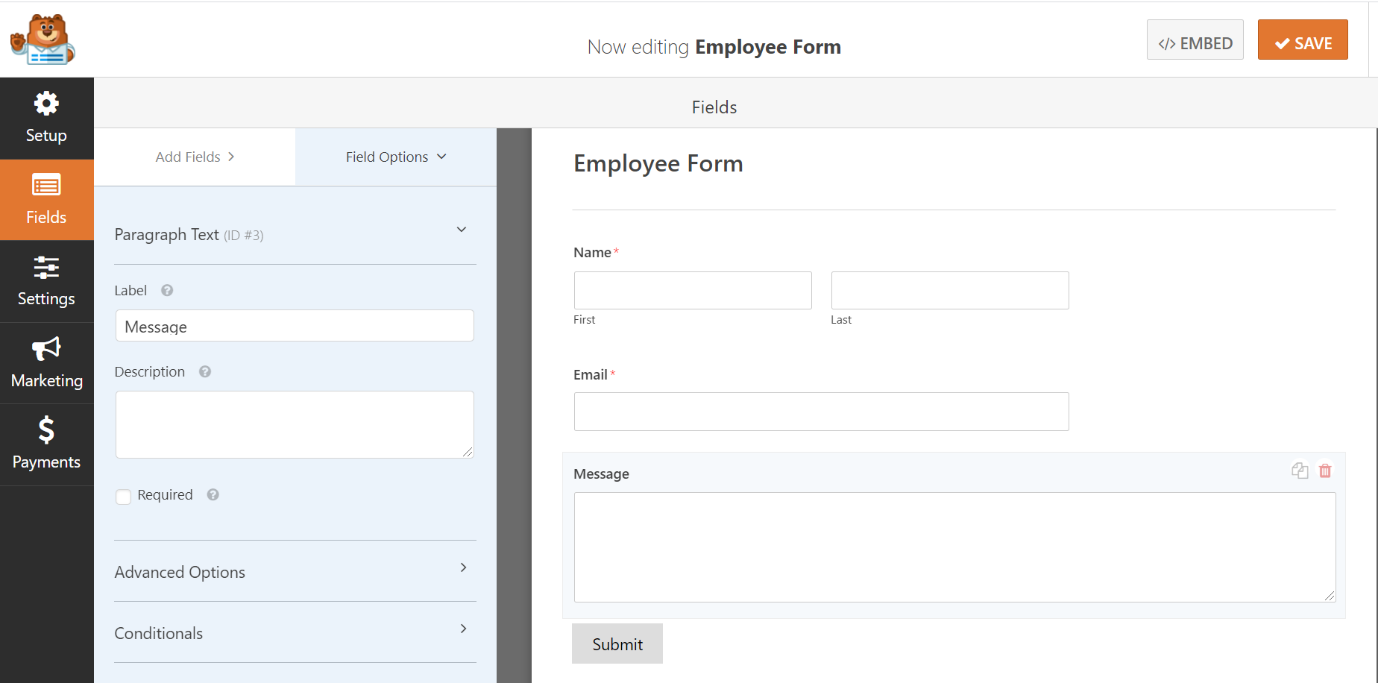
- According to your requirements, set the field properties like field name, mandatory or non-mandatory from the field options tab.
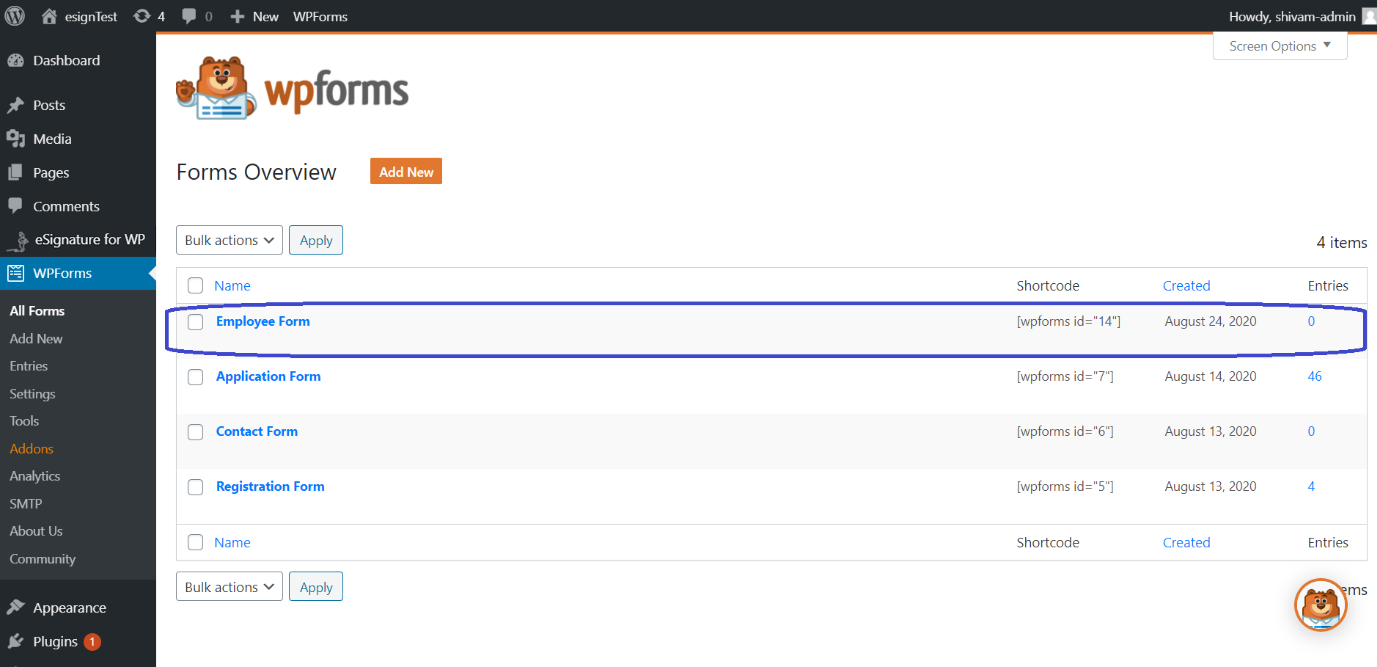
- Once the form is created, it will display like shown on the screen below.
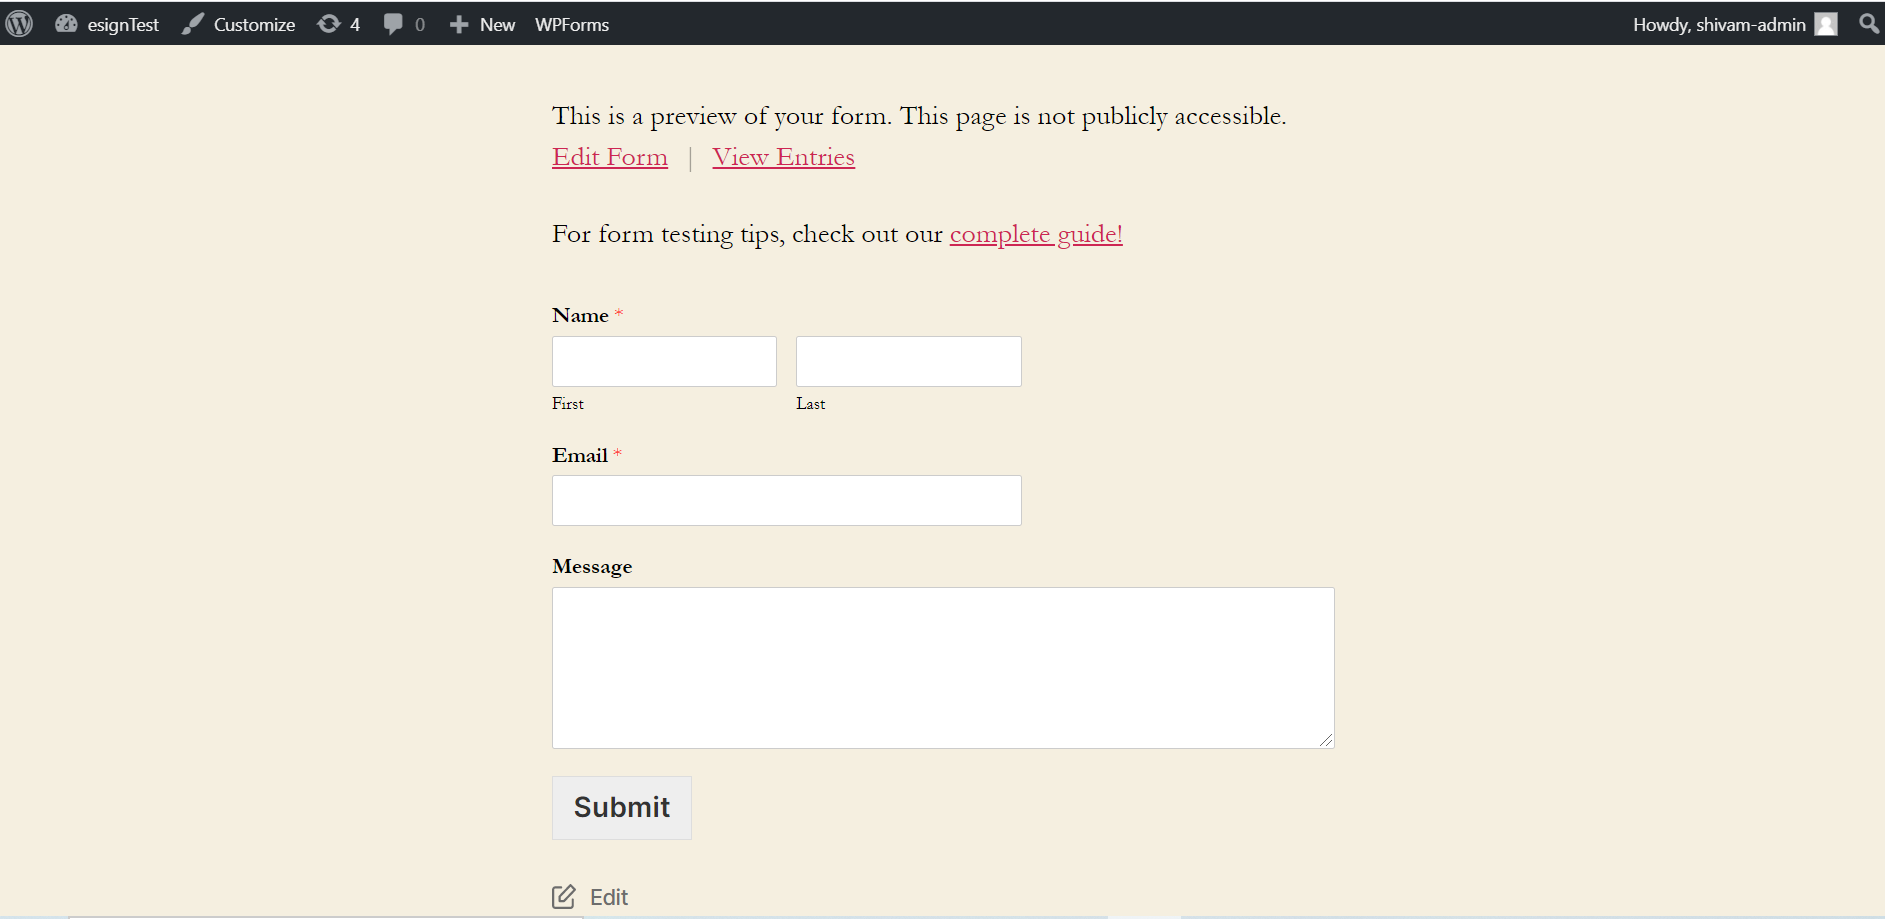
- By Clicking on the form name, you can preview your created form like below screen.
3. Create a Reusable Document Template.
- Log in to the application and click on `Template` under ‘Create a New’ box on the homepage
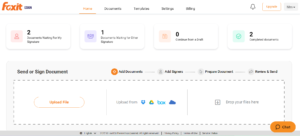
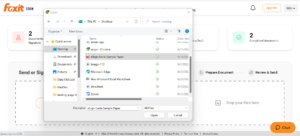
- You can now choose the required PDF file from your computer to create a template
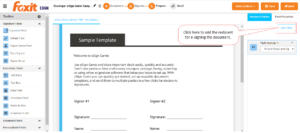
- Click on the `Add party` icon to add the total number of parties or recipients that will be involved in reviewing, filling out field values, and esigning. You will assign the name to each Party later when sending the document for esignature.
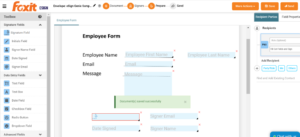
- It is important to note that when you drag and drop, the fields will be automatically assigned to the Party Highlighted in Gray on the right in the Recipient Parties section.
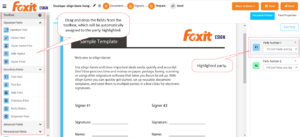
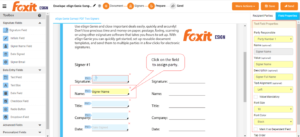
- Click on the field to assign properties.
- Save your template by clicking on ‘Save’ or ‘Save and Close’.
4. Map WP Forms and Foxit eSign template fields
- Click on ‘Add new mapping’ under Foxit eSign plugin
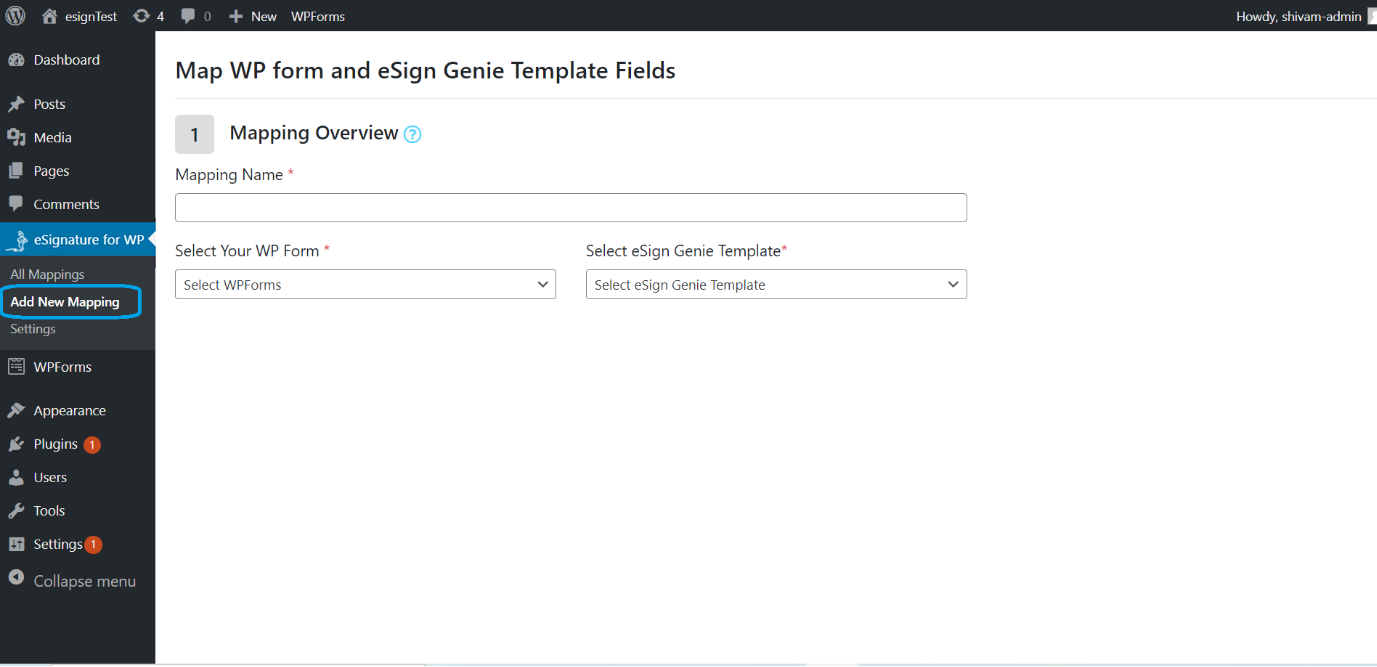
- Input Mapping fields
• Enter Mapping name
• Select the WPForm from the list.
• Select the Foxit eSign template from the list. (Make sure WP form and Foxit eSign template should be selected correctly)
• Map the WPForm field to Foxit eSign Fields.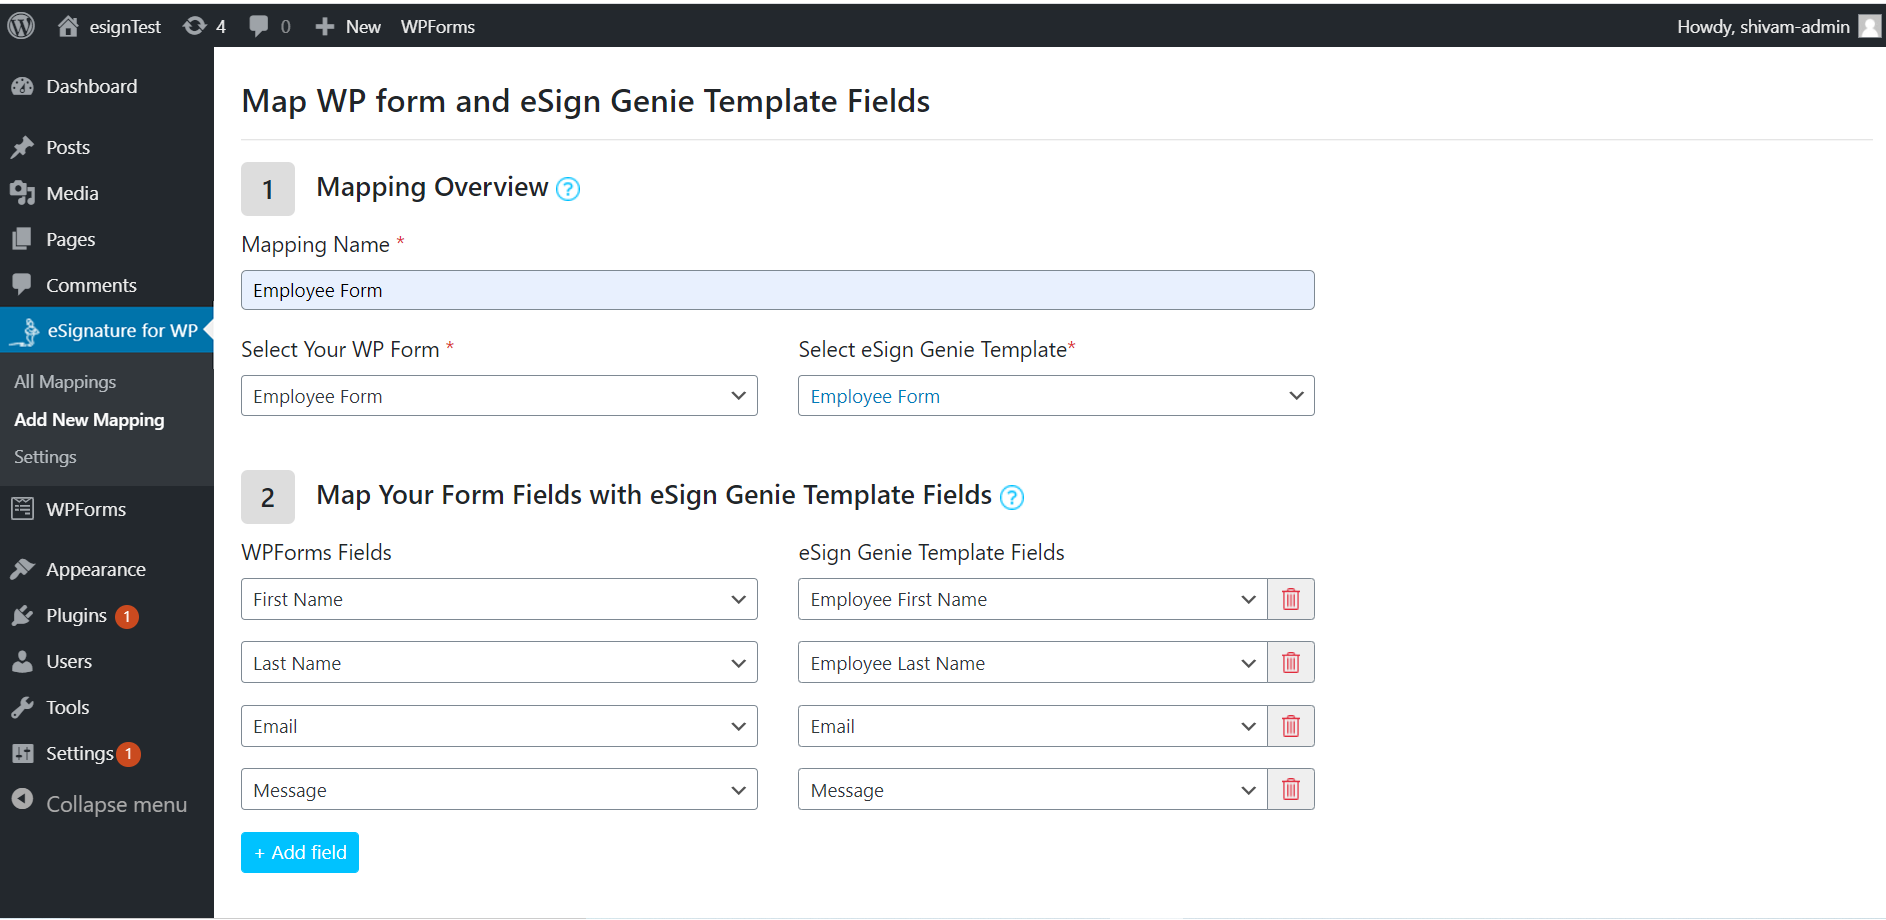
- Map Signer party fields. Party is the signer or recipient of the document. Please ensure that mapped field types should be consistent e.g. you can only map the
5. Fill the WP form and Submit to Foxit eSign for Signature
- After a successful mapping list will display like below screen.
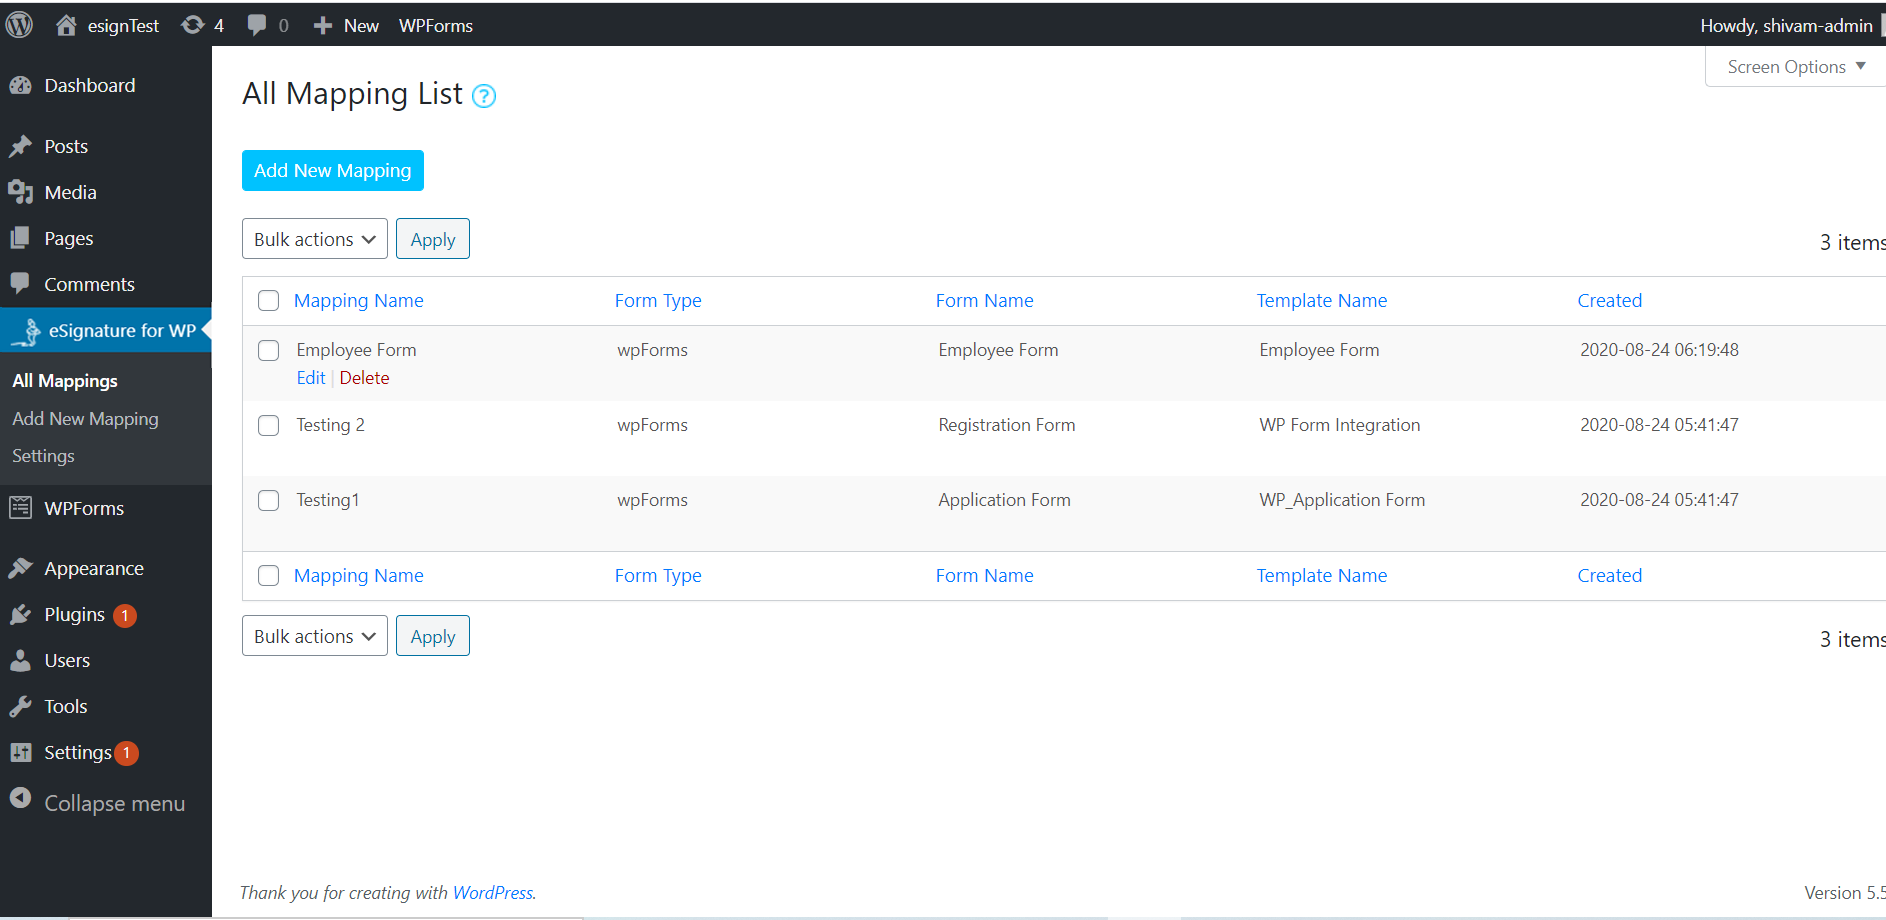
- Click on the mapping name and fill the form.
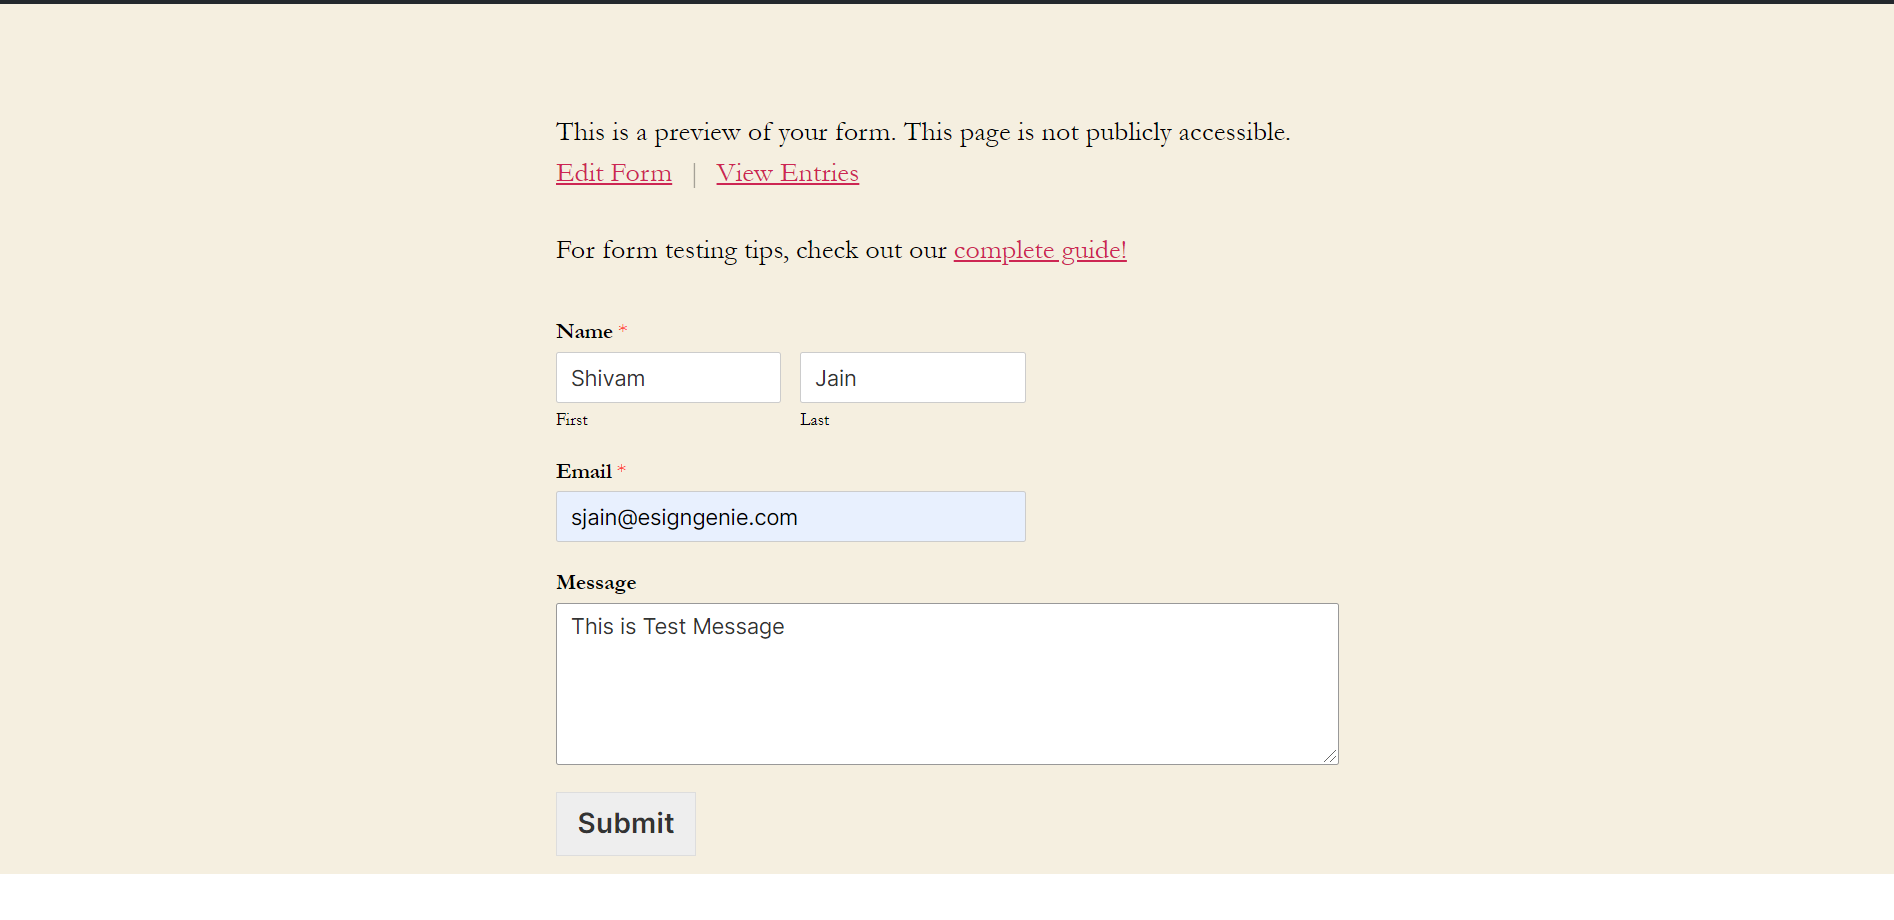
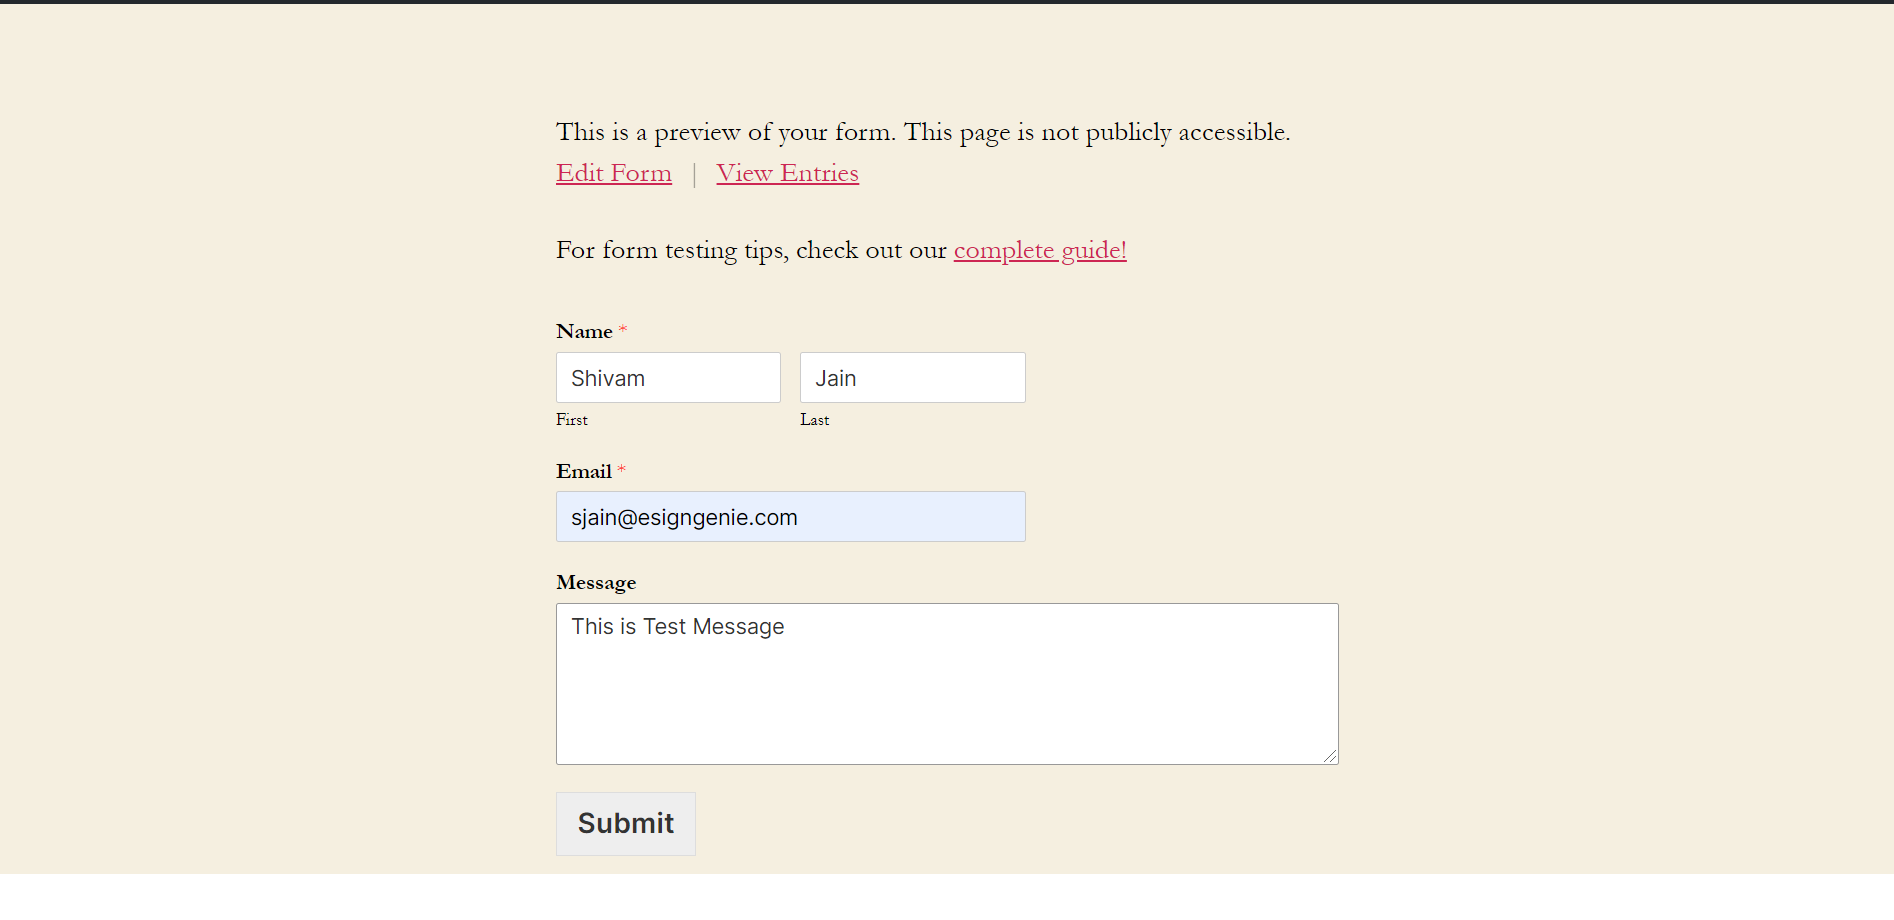
- After submission user will redirect to the Foxit eSign signature interface.
- Click on the ‘Finish’ button and Confirm the conditions pop up.
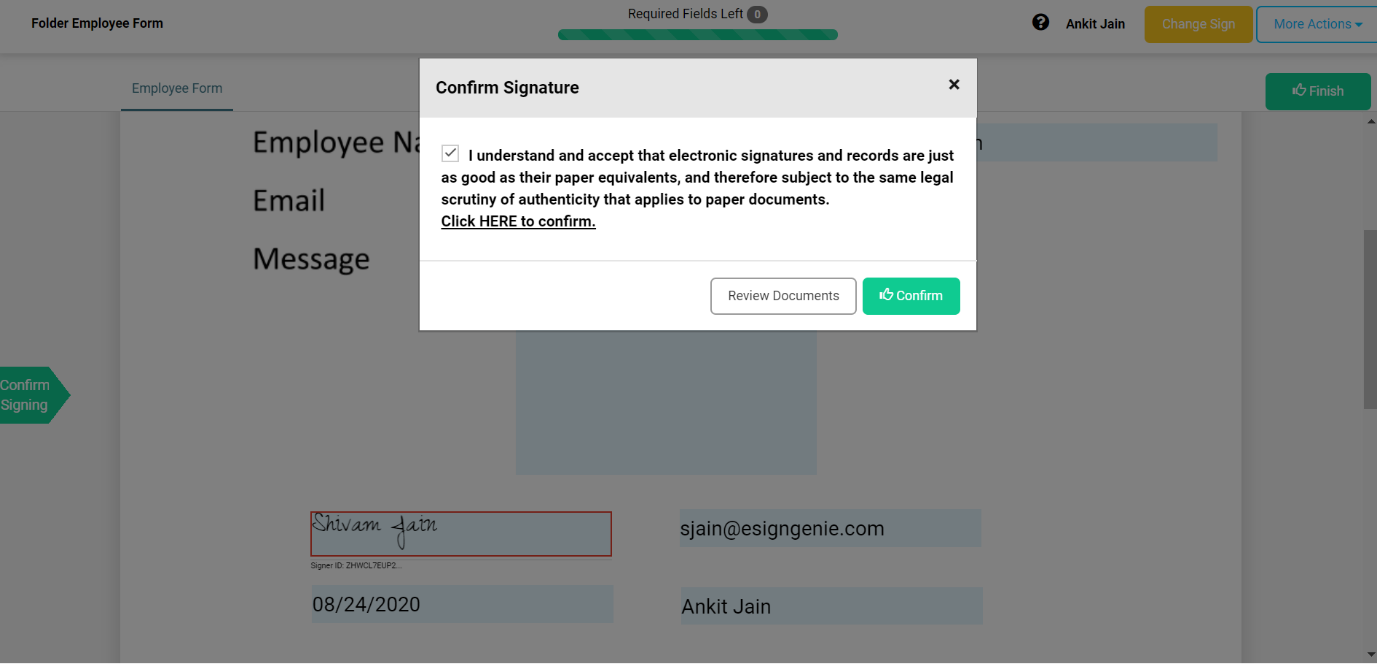
Upon signing completion, an email will be sent to all concerned parties (account holder and your customer) along with the signed PDF.


